Master AV Setup with Audio Visual Gyan
Step-by-step guides on AV installation, conference rooms, cameras, and troubleshooting made simple for beginners.
1/22/20262 min read

Step-by-Step AV Installation Guide for Beginners | Conference Room Setup & Troubleshooting
Audio Visual (AV) systems play an important role in modern offices, conference rooms, classrooms, and meeting spaces. Many beginners feel AV installation is difficult, but with the right guidance, it becomes simple and easy.
This article explains AV installation step by step, conference room setup, camera connection, and basic troubleshooting in simple English for beginners.
AV Installation Guide – Who Is This For?
This guide is specially written for:
AV beginners
IT support staff
Office administrators
AV freelancers and technicians
People searching for conference room setup guide
What Is an AV System?
An AV system means Audio and Video equipment working together for meetings and presentations.
A basic AV system includes:
Display or projector
Conference camera
Microphone and speaker
Laptop or PC
HDMI and USB cables
Power adapters
AV systems are used for video conferencing, online meetings, training, and presentations.
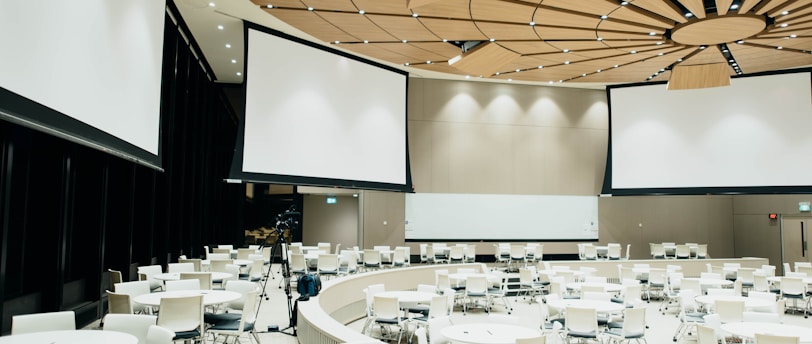
Where Are AV Systems Used?
AV systems are commonly installed in:
Conference rooms
Board rooms
Training rooms
Classrooms
Corporate offices
Equipment Required for AV Installation
Before starting AV installation, make sure you have:
TV or display
Conference camera
Microphone or speakerphone
Laptop or desktop PC
HDMI cable
USB cable
Power cables
Having the right equipment avoids AV installation problems later.
Step-by-Step AV Installation Process
Step 1: Power OFF All Devices
Always switch OFF power before connecting cables.
This protects AV equipment and avoids port damage.
Step 2: Display Installation
Mount the display on wall or stand
Connect power cable
Do not turn ON yet
Step 3: Conference Camera Setup
Fix the camera above or below the display
Ensure it faces the meeting table
Connect power if required
Step 4: Cable Connections
Connect HDMI cable from PC to display
Connect USB cable from camera to PC
Connect microphone or speaker to PC
Step 5: Power ON and Testing
Turn ON display and PC
Open video conferencing software
Check camera video and audio
Common AV Installation Mistakes
Beginners often face problems due to:
Wrong HDMI input selected
Loose USB cable connection
Microphone kept on mute
Using long cables without testing
Important AV Installation Tips (Before You Start)
Keep power OFF during wiring
Avoid loose cable connections
Test cables before final installation
Label cables for easy maintenance
Pro Tip from Real AV Sites
Most AV problems are caused by wrong cable connections, not device failure.
Always check cables first before replacing equipment.
Need Professional AV Support?
If you need conference room AV installation, troubleshooting, or remote support, you can connect with Presentation People.
We focus on simple, practical, and reliable AV solutions.